

 |
 |
 |
|
|||||||
 |
|
|
Thread Tools | Display Modes |
|
#1
|
||||
|
||||
|
Aaarggghhh! Any Rotor crank experts here? Struggling with a Rotor pinch bolt...
I occasionally struggle with a bike part, but man, this one is getting the better of me!
I'm attempting to remove a Rotor crankset (a 3D road crankset with the removable non-drive side arm), but am struggling with the pinch bolt (see the diagram below). I can't get this thing to break loose! I've confirmed that I'm turning the bolt (or a least attempting to) in the right direction, have used Liquid Wrench on both sides of the bolt and still can't get the bolt to let go. I've even managed to bend an allen wrench trying to get a bit more torque on the bolt with a breaker bar (pipe). Am I missing something? For those familiar with Rotor cranks, is there a trick to these? The bolt is called a DTT (dual thread technology) and according to one of the online Rotor tech videos, it has different thread pitches on the same bolt. Could this be part of the the problem? Again, I've used Liquid Wrench on the bolt (sat for a couple of hours) and have bent an allen wrench in my attempt to remove it. Any suggestions outside of heating up the crank arm (which I would prefer not to do)? Thanks! Texbike Last edited by texbike; 12-26-2017 at 08:42 PM. Reason: add diagram |
|
#2
|
|||
|
|||
|
Sorry that I cannot be of much help. but three weeks ago on the same crank (rotor 3D), I did exactly what you did and the crank came loose.
My only guess is the the bolt is on too tight. |
|
#3
|
||||
|
||||
|
I had one of these go bad a while ago except my bolt stripped out and had to send it back to Rotor in Colorado to get it re threaded. My problem was the opposite of yours, I couldn't get it to stay tight. I'm guessing you have already removed the big hex load bearing bolt? Also, is there a plastic piece you can remove between the two sides of the crank arm bolt that can be flipped out? Follow the 2 red arrows

Last edited by kppolich; 12-26-2017 at 09:45 PM. |
|
#4
|
||||
|
||||
|
Quote:
 Quote:
Thanks for the suggestions. Texbike |
|
#5
|
|||
|
|||
|
Take a look that the crankarms are fully 180° out from each other. If not, use a soft mallet to move them back in the right direction.
|
|
#6
|
|||
|
|||
|
Try a little heat? First go with a hair dryer and if that doesn't work maybe a heat gun (be careful not to go too hot so you don't soften the aluminum too much).
|
|
#7
|
||||
|
||||
|
just to chime in - i also had this exact problem a while ago. i wound up just using a nutted bolt for years until i found a NOS crank arm on ebay. the system used for this particular model of rotor cranks is not ideal.
__________________
http://less-than-epic.blogspot.com/ |
|
#8
|
||||
|
||||
|
Quote:
Quote:
The arms looks like they're in the right position, so I think we're good there. I had Liquid Wrench on the bolt for over 12 hours, added a bit of heat via a blow dryer as suggested (thank you for that - I would usually use a blow torch on the car projects, but not such a good idea here), and a bit of impact via the allen wrench and a hammer. The bolt STILL won't budge! Wow! Good times... Any other suggestions before I throw in the towel and take it to a shop? However, I'm not sure what the shop would do that I haven't already done...  Thanks! Texbike |
|
#9
|
|||
|
|||
|
I prefer to use dead blow hammers for pesky bolts...but sometimes you gotta bring out the big guns.
You got an impact wrench? Use a hex head socket of the appropriate size. Probably use the smaller one though. But it might be time to think of buying a replacement nds arm on ebay. |
|
#10
|
|||
|
|||
|
PB Blaster?
If it’s galled up, it’s not coming out |
|
#11
|
|||
|
|||

|
|
#12
|
||||
|
||||
|
Hmmm. I forgot about PBB. I have a can of it. I'll give it a shot (pun intended...).
Haha! Sadly, this has already crossed my mind as an option. Texbike |
|
#13
|
||||
|
||||
|
Seems overly complicated but I guess they couldn't just copy the Shimano pinch bolt cuz of patents or copyrights(?).
https://www.youtube.com/watch?v=nrEXRcZkn34 |
|
#14
|
|||
|
|||
|
I've got a set of Rotors and just removed the arms not too long ago. I use anti-seize on the bolts and haven't had a problem. I'd give PB Blaster a shot. I've had success with that on past projects. Another thing I'd try is to see if a large crescent wrench can be used to give more leverage - instead of slipping a piece of tubing over the L-portion of the hex wrench. I'm guessing the hex wrench started bending at that 90deg curve. So, stick the hex end into the bolt, fasten the crescent wrench onto the hex wrench and as close to the bolt as you can, and then muscle away. If your hex wrench has a ball end - don't use the ball end part since it's likely to snap off.
|
|
#15
|
||||
|
||||
|
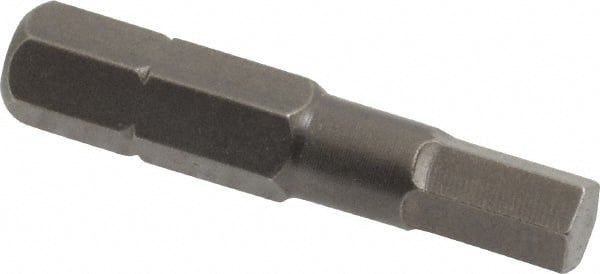
1.) Get an allen bit like this:
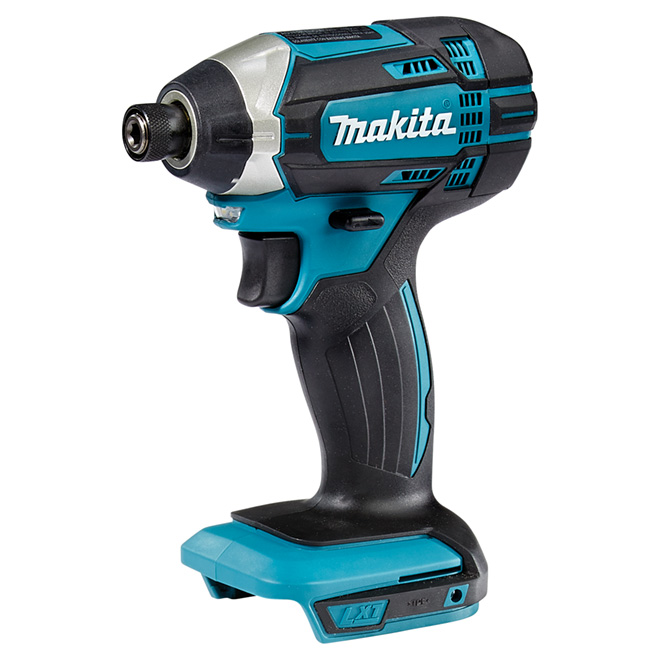
 Place it in the socket head bolt, once in the bolt give the bit a few sharp blows with a hammer. Then try loosing again, however forget destroying allen wrenches. I would use something like this, should be available in a 3/8 or 1/2 inch drive:  . . 2.) Try a hand held impact driver like this:  3.) Still no go, borrow or rent a power impact driver:  4.) Sawzall, hack saw or cutting wheel in the crank arm gap cutting the bolt with out destroying the arm and replacing the bolt.
__________________
Marc Sasso A part of the resin revolution! Last edited by m_sasso; 12-27-2017 at 02:12 PM. |
 |
|
|